
Printing photos using hplip and KDE
If you own a photo printer you might know the problem: printing photos in Linux/KDE is not as easy as you expect it to be and you waste a lot of expensive paper and ink with unnecessary tests. To avoid this I want to show you how to print photos or albums easily using KDE with digiKam.I do not want to cover other KDE applications or GIMP because documentation already exists at the hplip-website.
Of course this document might be useful for non-HP printers as well, but values, settings and paper size may vary.
What you need
- Install digiKam > 0.8.2
- Install lipkipi and KIPI-plugins
- Setup your printer and put photo paper in the photo tray
Step #1
First of all you need to run digiKam and make sure that the KIPI-plugins were loaded properly. Click Settings -> Configure digiKam and choose KIPI Plugins. All the KIPI-plugins should be loaded, but what you need is the KIPI Print Wizard Plugin: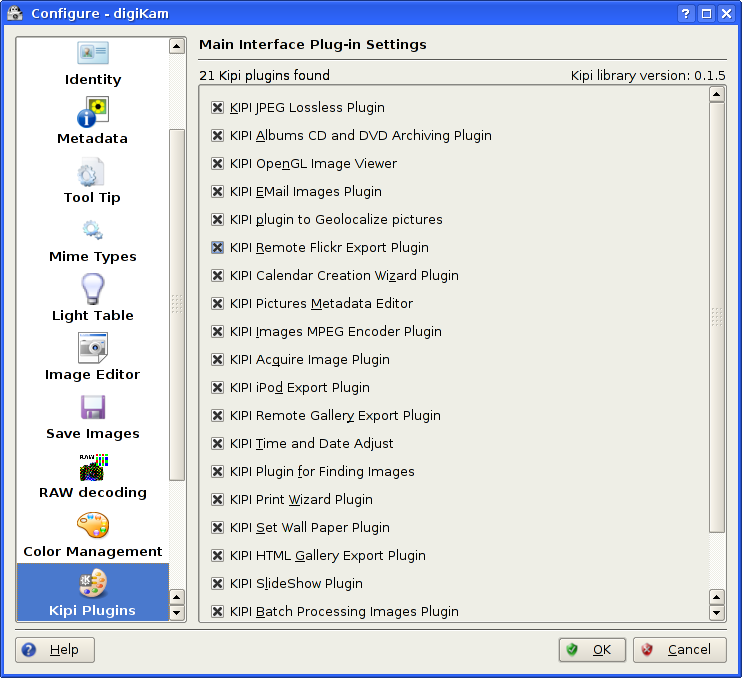 Now you can select the desired pictures of the album (keep <Ctrl> pressed and click the pictures you want or hit <Ctrl> and A to select all the pictures of the album).
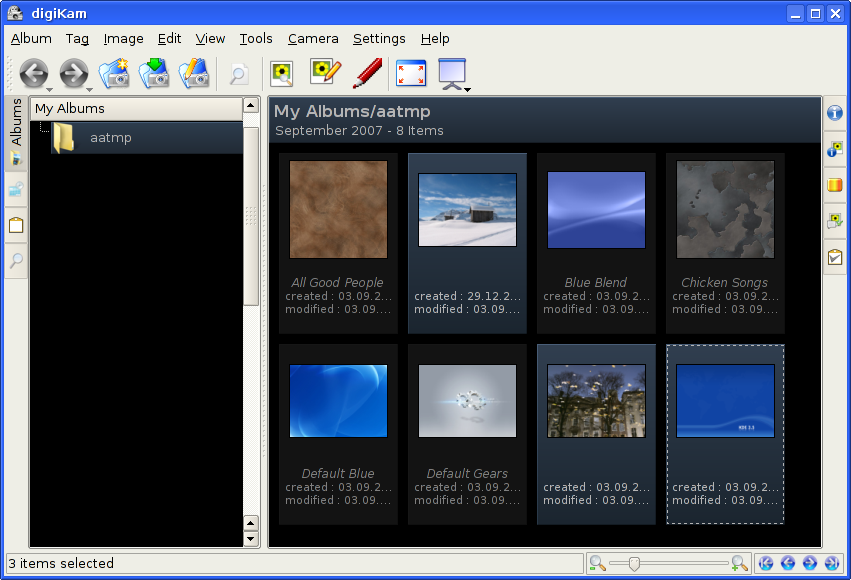
Step #2
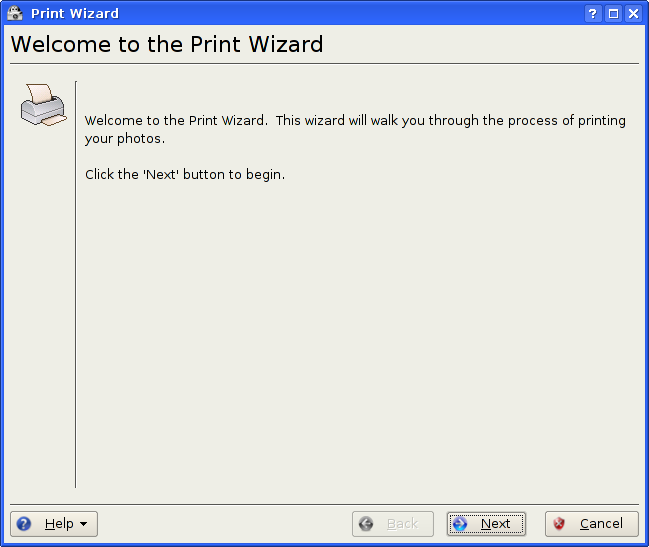
After selecting the pictures or the album you have to launch the Print Wizard: Image -> Print Wizard.Now the wizard appears which will guide you through the printing process:
 Now you can adjust the paper size:
 In the next step you can set the actual size of the picture, which usually should be the same as the paper size:
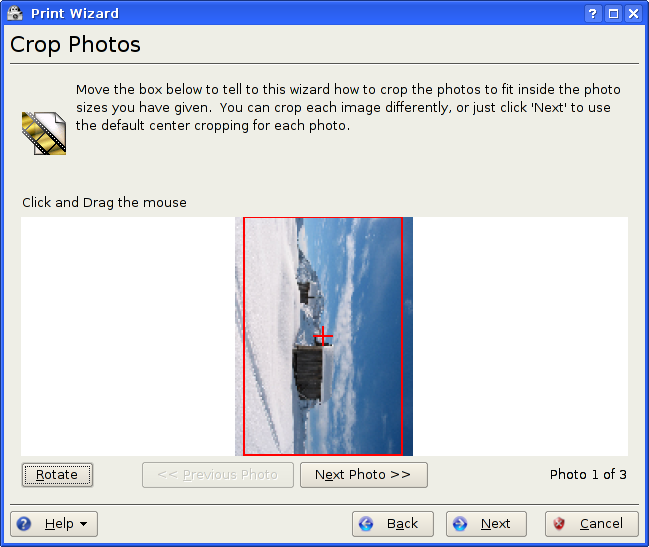
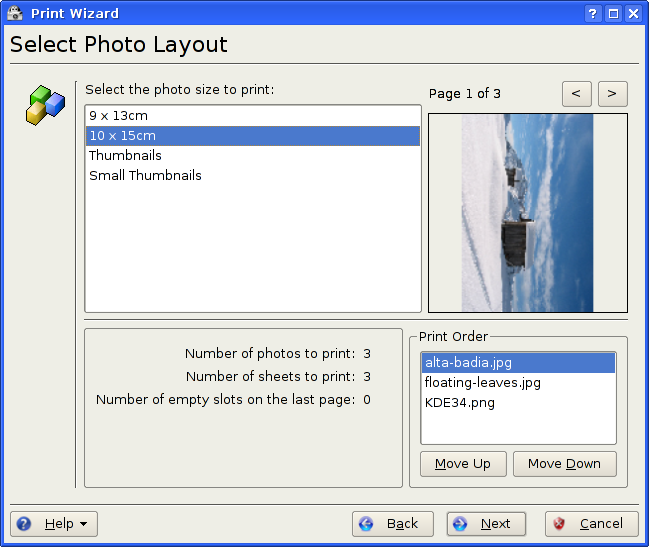 This step is pretty important because digital cameras usually do not create images fitting on a 10x15cm (4x6in) photo paper.
The Wizard enables you to crop the image a little so it fits to the desired paper format. The red frame shows the printing area, you can move it with the mouse as you like it. If you have selected more than one picture you can click Next Photo to adjust the borders of the next photos as well.
Once you have cropped all photos you can continue by clicking Next.
 Now the Print Wizard has finished. Make sure you choose Printer job viewer and click Next!

Step #3
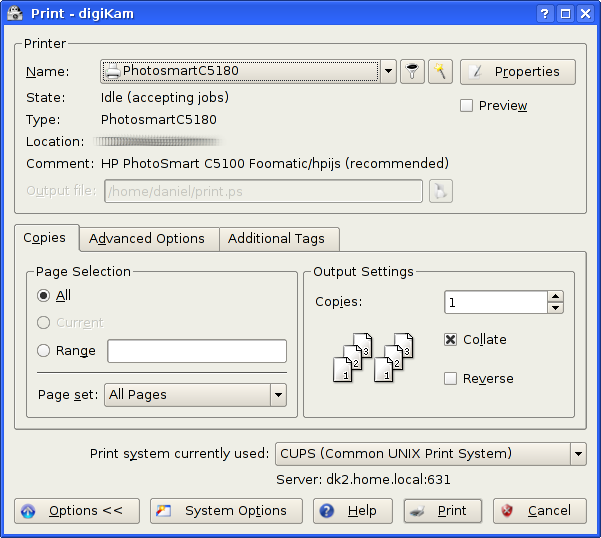
Now the printer dialog pops up. Select your photo printer and click Properties.Important: Before you start printing you should always check if the settings in the Properties-dialog are correct!
 Click Properties and select the Margins tab. Because we usually want to enable borderless printing we have to adjust the margins manually (set the to 0):
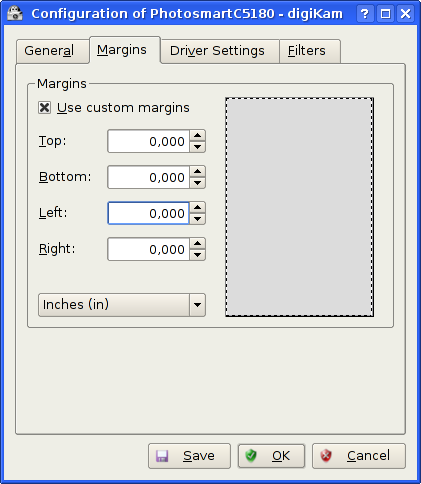 Select the tab Driver Settings and change the Paper format, Media source and Printout mode:
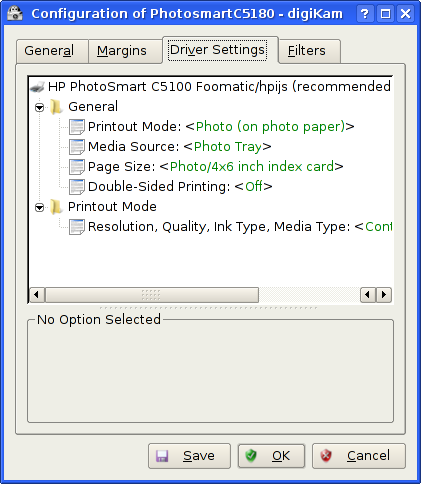 Now click OK and open the Properties dialog again, to double check the values. The settings should look like this:
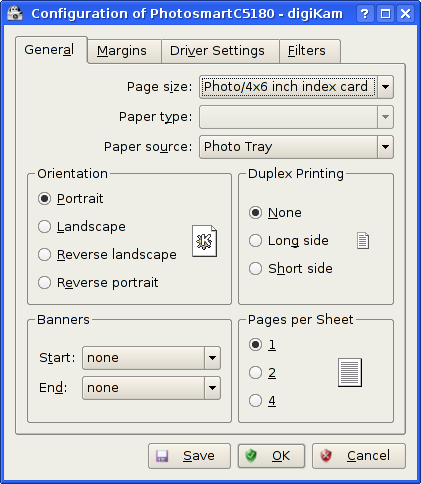 Finally, if everything is set correctly, select OK and start printing by clicking the Print button.